Easy Setup Instructions
Simple guide to add your wireless printer to your home network.
Our Setup Instructions
Unbox the Printer
To start your printer setup, carefully unbox the printer, remove any packing materials, and make sure all parts, including cables and ink cartridges, are included and ready for installation.
Plug in the Power Cord
Plugging the power wire into the printer's rear and connecting the other end to a wall socket is the first step in your printer setup. To turn it on, press the power button.
Install the Ink Cartridges
When your printer setup, open the ink cartridge door, carefully place the cartridges into the appropriate slots, and then firmly close the door.
Load the Paper Tray
During your printer setup, pull out the paper tray, place a stack of plain paper inside, and adjust the paper guides to fit the size of the paper properly.
Connect Printer to Wi-Fi
For your printer setup, connect your printer to Wi-Fi by following the simple steps on the printer’s screen or using the Smart app. This will enable wireless printing from your devices.
Add Your Printer in the App
During your printer setup, open the Smart app, tap "Add Printer," and follow the prompts to connect your printer. This will allow you to manage and print directly from the app.
Install Printer Software
For a smooth printer setup, download and install the necessary printer software from the website. This software ensures your printer works properly with your computer or mobile device.
Print a Test Page
After completing your printer setup, print a test page to ensure everything is working correctly. This will check your printer’s connection and print quality before you start using it.
Register Your Printer
After completing your printer setup, register your printer online to activate the warranty, receive updates, and access support. Simply sign in or create an account to complete registration.
Our Models
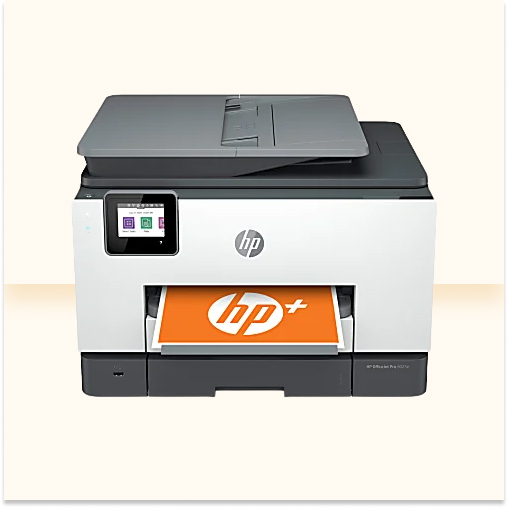
OfficeJet Pro 9025e Wireless All-in-One Color Printer With +
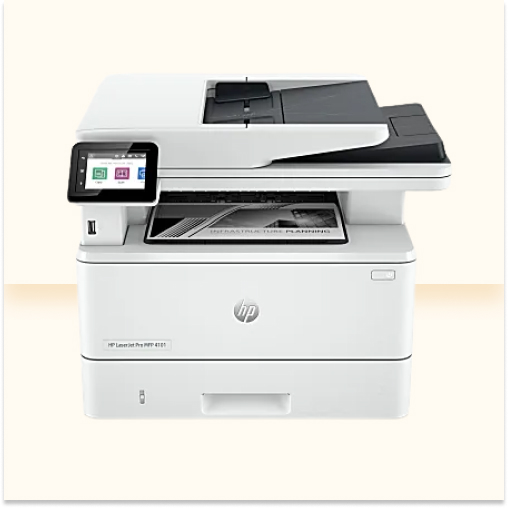
LaserJet Pro MFP 4101fdn Laser All-in-One Monochrome Printer
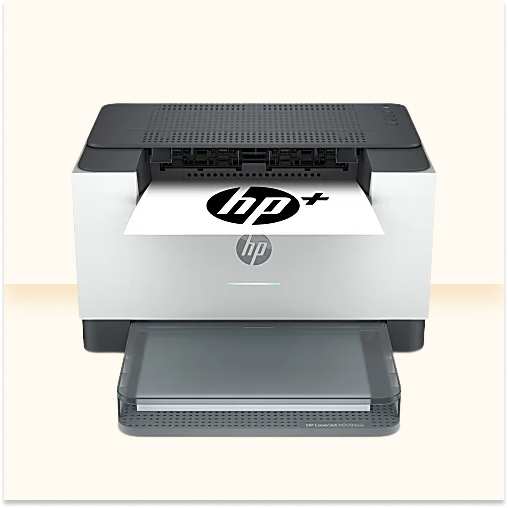
LaserJet M209dwe Wireless Laser Monochrome Printer with +
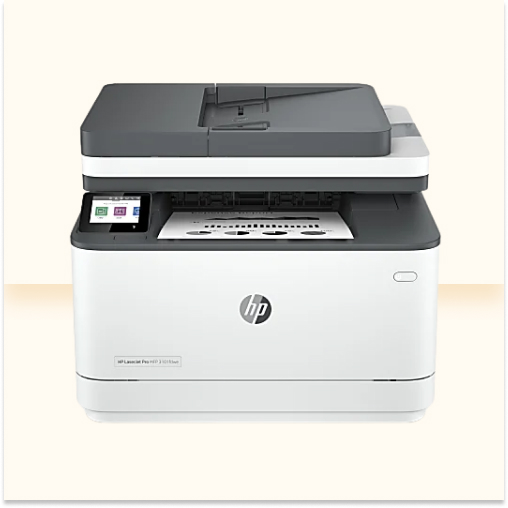
LaserJet Pro MFP 3101fdw Wireless Laser Printer
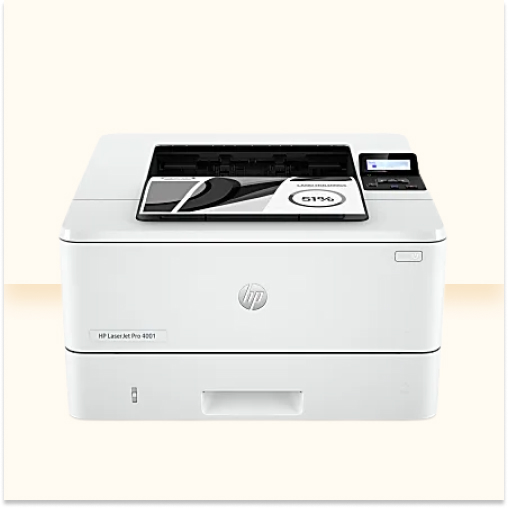
LaserJet Pro 4001dw Laser Monochrome Printer
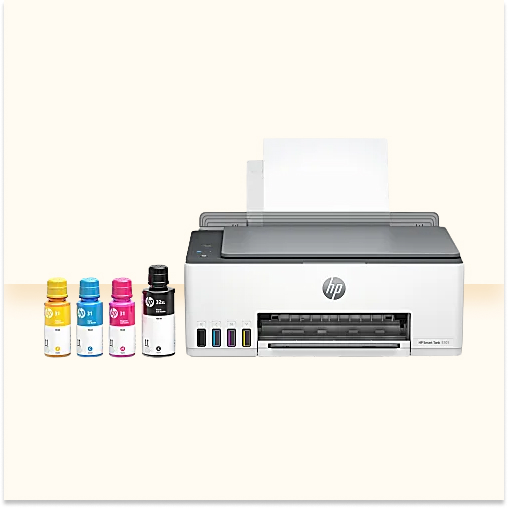
Smart Tank 5101 Wireless All-in-One Color Printer
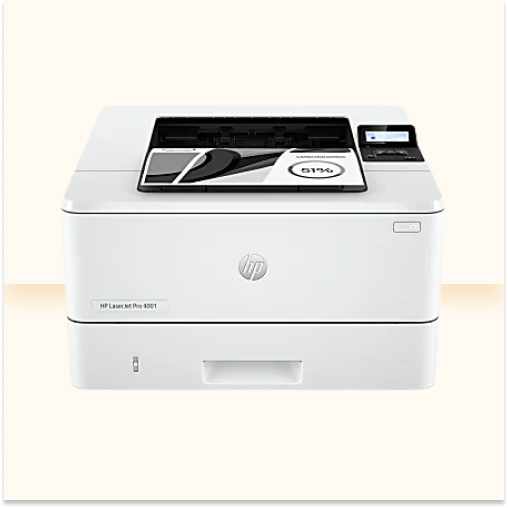
LaserJet Pro 4001n Laser Monochrome Printer
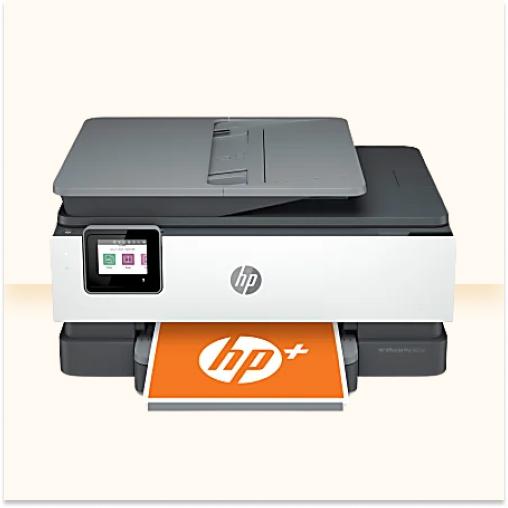
OfficeJet Pro 8025e Wireless All-in-One Color Printer
Frequently Asked Questions
How do I set up my printer?
Unpack the printer, install the ink cartridges, load paper, establish a Wi-Fi connection using the Smart app, and install any necessary software or drivers to finish the printer setup process.
How do I connect my printer to Wi-Fi?
During printer setup, choose your network and input the Wi-Fi password using the Smart app or the printer's control panel to connect your printer to Wi-Fi.
Can I set up my printer without a computer?
Yes, you can complete the printer setup without a computer by using the Smart app on your smartphone or tablet to connect the printer to Wi-Fi and manage settings.
Why is my printer not connecting to Wi-Fi?
If your printer is not connecting to Wi-Fi, ensure it’s within range of the router, check the Wi-Fi password, and restart both the printer and router during printer setup.
How do I print a test page after setting up my printer?
After completing the printer setup, open the Smart app or your computer’s print settings, select "Print Test Page," and follow the prompts to ensure your printer is working correctly.
Can I use my printer with multiple devices?
Yes, after completing the printer setup and connecting to Wi-Fi, you can use your printer with multiple devices, including phones, tablets, and computers, all connected to the same network.